Drivers are a powerful tool to automate actions, i.e. for animating a counter. Follow the Tutorial to learn how you can use the provided Drivers-Scripts in your project:
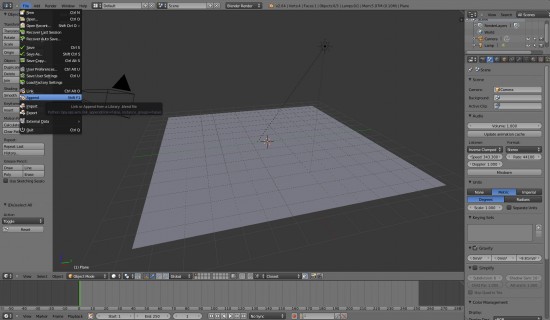
1. Use “Append” to copy single objects or entire scenes from other blender files. Open the preferred file, select “Text” and choose the Driver-script you want to use , e.g.” setText.py”.
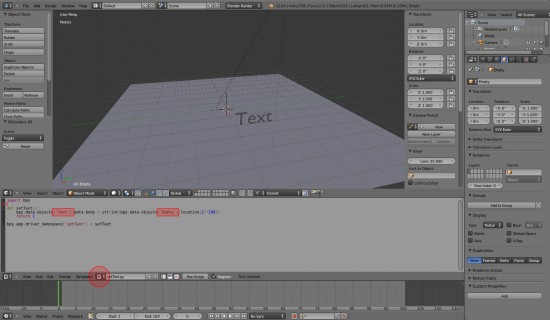
2. Open the Text Editor and open the setText.py-file by clicking on the small icon left of the New-Button. You can see that the script needs an object called “Empty” and an object called “Text”. Other driver-scripts might need other objects. Create an Empty called “Empty” and a Text-Object called “Text”.
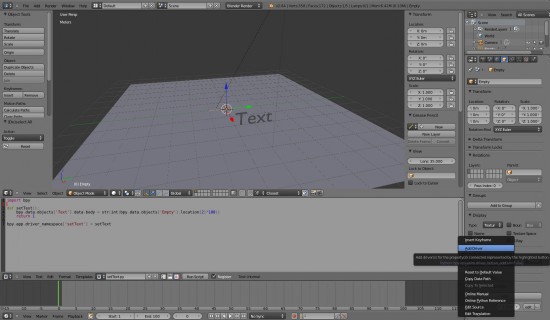
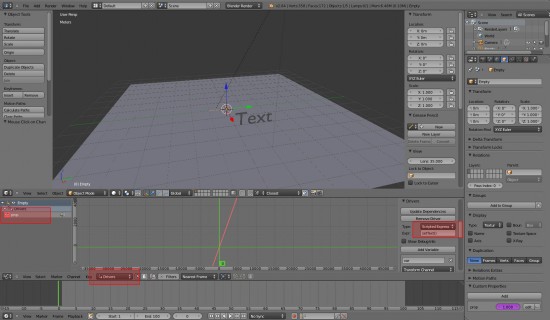
3. To combine the Drver with the Empty, select the Empty and choose Object Properties. Go to “Custom Properties”, click “Add” and right-click the number to add a Driver. The field turns purple.
4. Open the Graph Editor and select “Drivers”, then select the Empty and click “prop”. Press “N” to open the properties windows on the right side and scroll down to “Drivers”. Type the name of the Driver in the Expr.-field and click “Update Dependencies”.The Driver updates automatically if you change your point of view in the 3D view.
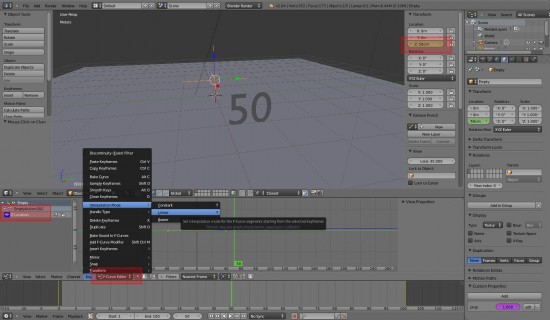
5. Animate the z-position of the Empty using keyframes. To make sure, the Empty moves with even velocity, open the Graph Editor and select “F-Curve Editor”, then select the Empty and click “Z Location”. Select all keyframes using “A”, click “Key” and set the Interpolation Mode to “linear”.

